
Introduction
Code on Github: Elasticsearch Data Enrichment
If you do not have Elasticsearch and Kibana set up yet, then follow these instructions.
This video assumes you are using Publicly Signed Certificates. If you are using Self Signed Certificates, go here TBD.
Requirements
- A running instance of Elasticsearch and Kibana.
- An instance of another Ubuntu 20.04 server running any kind of service.
Process
Definition of Data Enrichment [00:09]
Got to the specific timestamp on the video to understand more on what data enrichment means.
How To Enrich Data Based On "Exact Value Match" [05:47]
Step - 1 Setup A Source Index [06:22]
In Kibana, go to Dev Tools > Console. Paste the below command in the console, and when you run this command, what Elasticsearch will do is that it will automatically create a new index and add this data to it and then do an automatic mapping for each of the field.
PUT /users/_doc/1?refresh=wait_for
{
  "email": "mardy.brown@asciidocsmith.com",
  "first_name": "Mardy",
  "last_name": "Brown",
  "city": "New Orleans",
  "county": "Orleans",
  "state": "LA",
  "zip": 70116,
  "web": "mardy.asciidocsmith.com"
}
After running, It should produce a similar result to the image below;
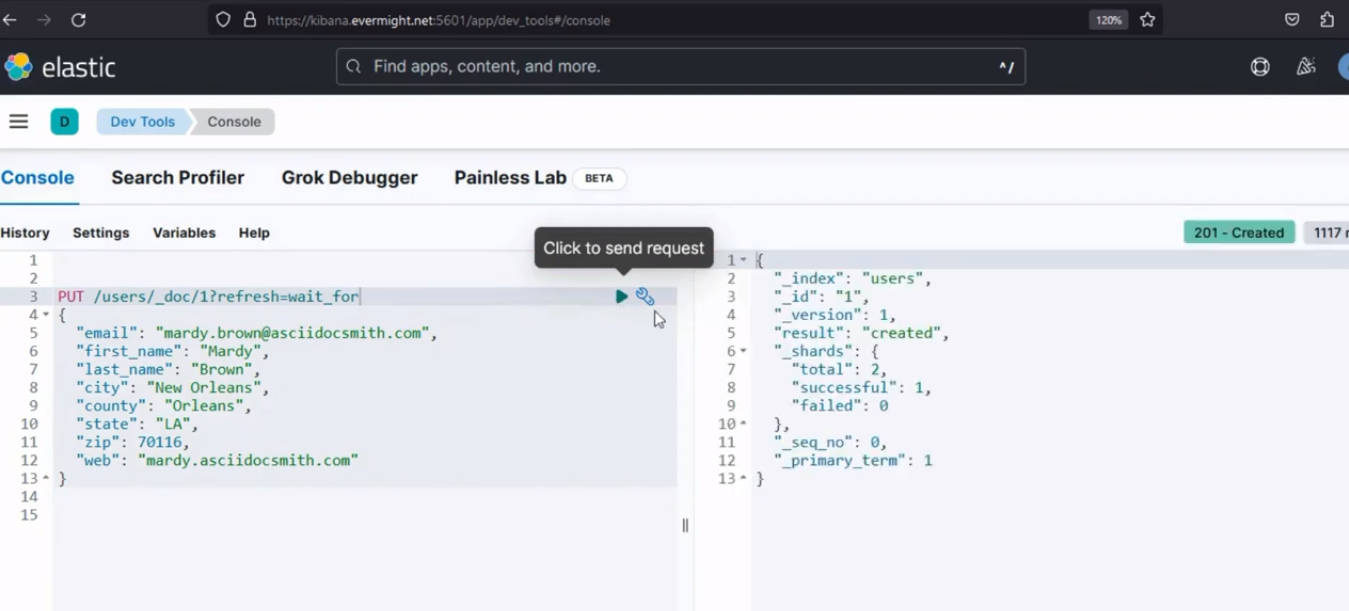 Console result for step 1
To confirm the index was created successfully, go to Stack Management > Index Management. And you should see a similar result to the image below:
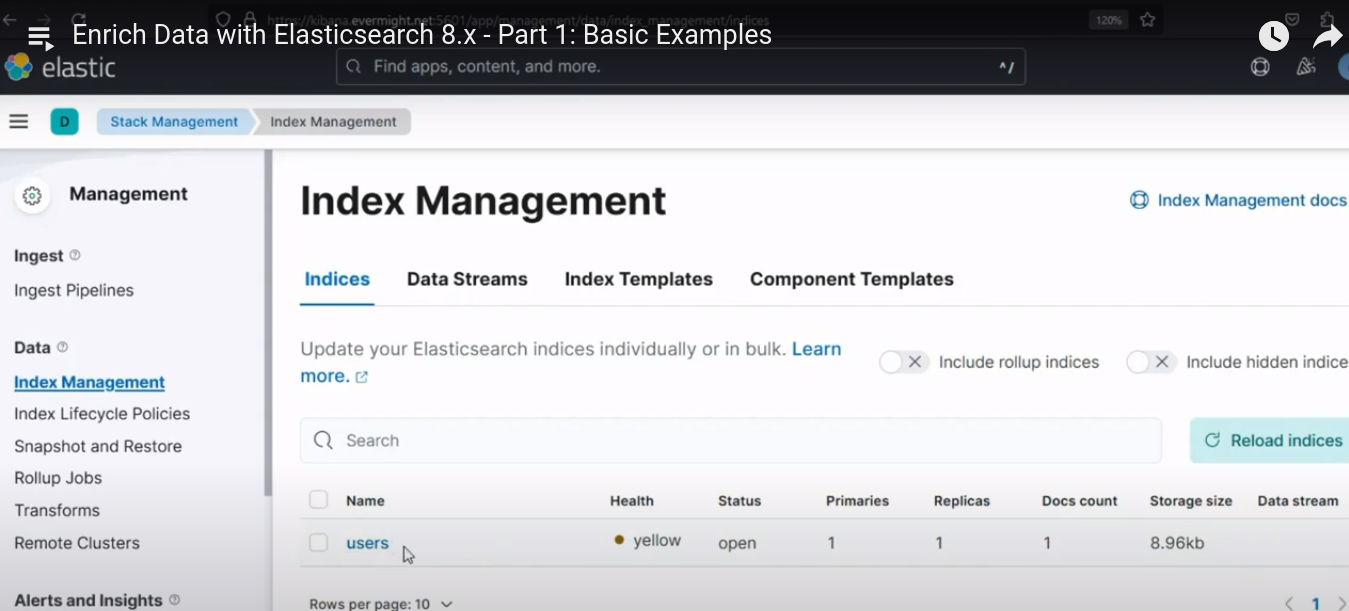 Index created succesfully
Step - 2 Setup An Enrichment Policy [07:58]
In Kibana, go to Dev Tools > Console. Paste the below command in the console, and when you run this Policy command:, what the Policy will do is that it will give instructions on how to populate incoming data, with data from the source index.
PUT /_enrich/policy/users-policy
{
  "match": {
    "indices": "users",
    "match_field": "email",
    "enrich_fields": ["first_name", "last_name", "city", "zip", "state"]
  }
}
Use the below command to create an enrich index for the policy.
POST /_enrich/policy/users-policy/_execute?wait_for_completion=false
After running, It should produce a similar result to the image below;
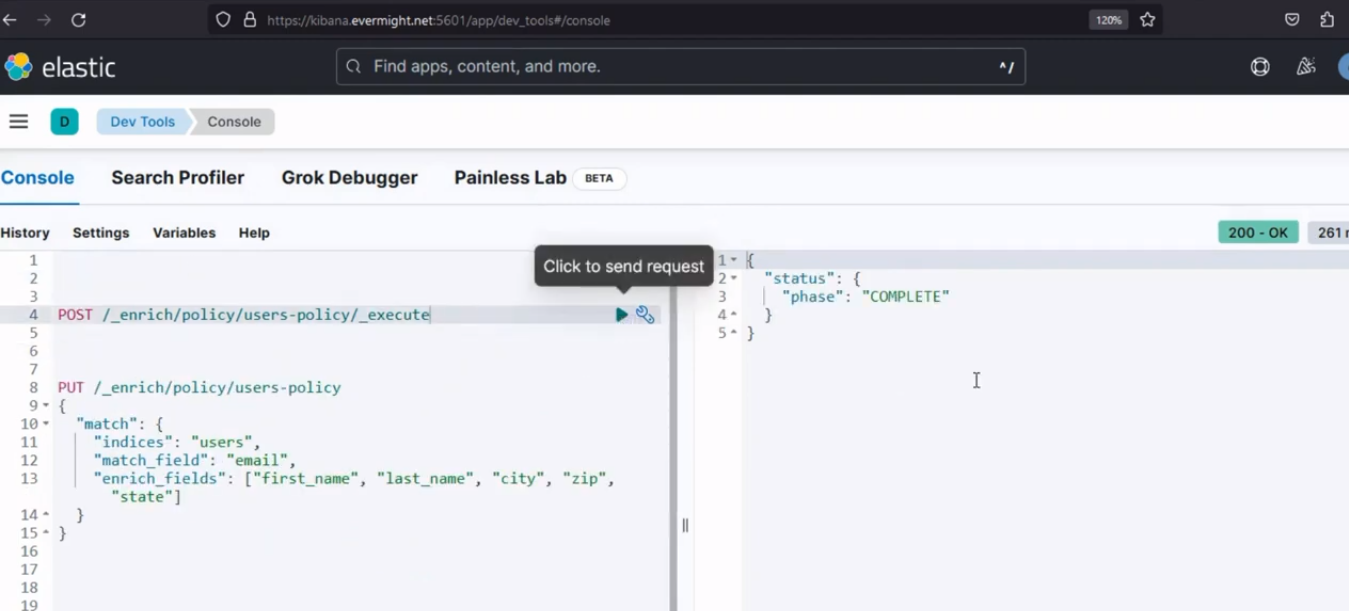 Console result for step 2
To confirm the index was enriched successfully, go to Stack Management > Index Management, toggle the include hidden indices button On, then reload indices. And you should see a similar result to the image below:
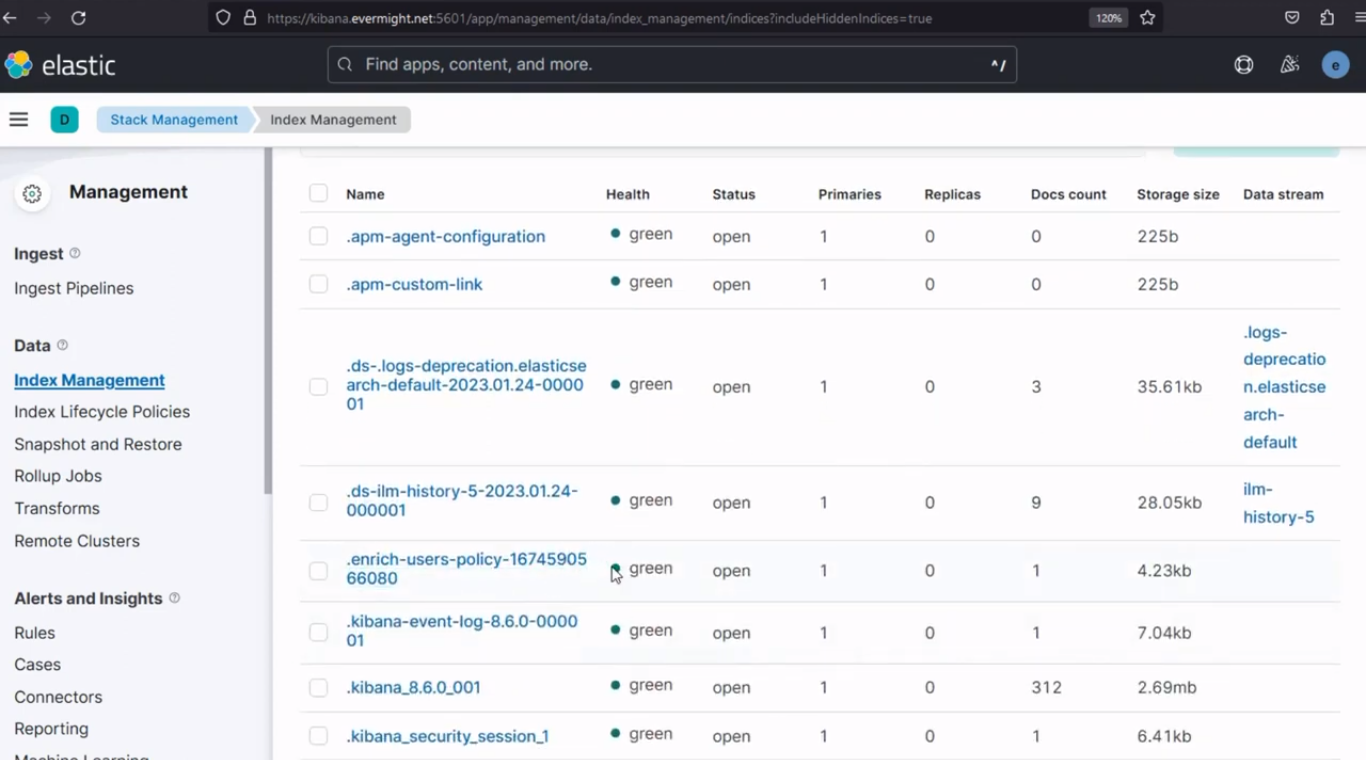 Index enriched succesfully
Step - 3 Setup An Ingestion Pipeline [11:05]
Create an ingest pipeline with an enrich processor. Use the command below to do so:
PUT /_ingest/pipeline/user_lookup
{
  "processors" : [
    {
      "enrich" : {
        "description": "Add 'user' data based on 'email'",
        "policy_name": "users-policy",
        "field" : "email",
        "target_field": "user",
        "max_matches": "1"
      }
    }
  ]
}
After running, It should produce a similar result to the image below;
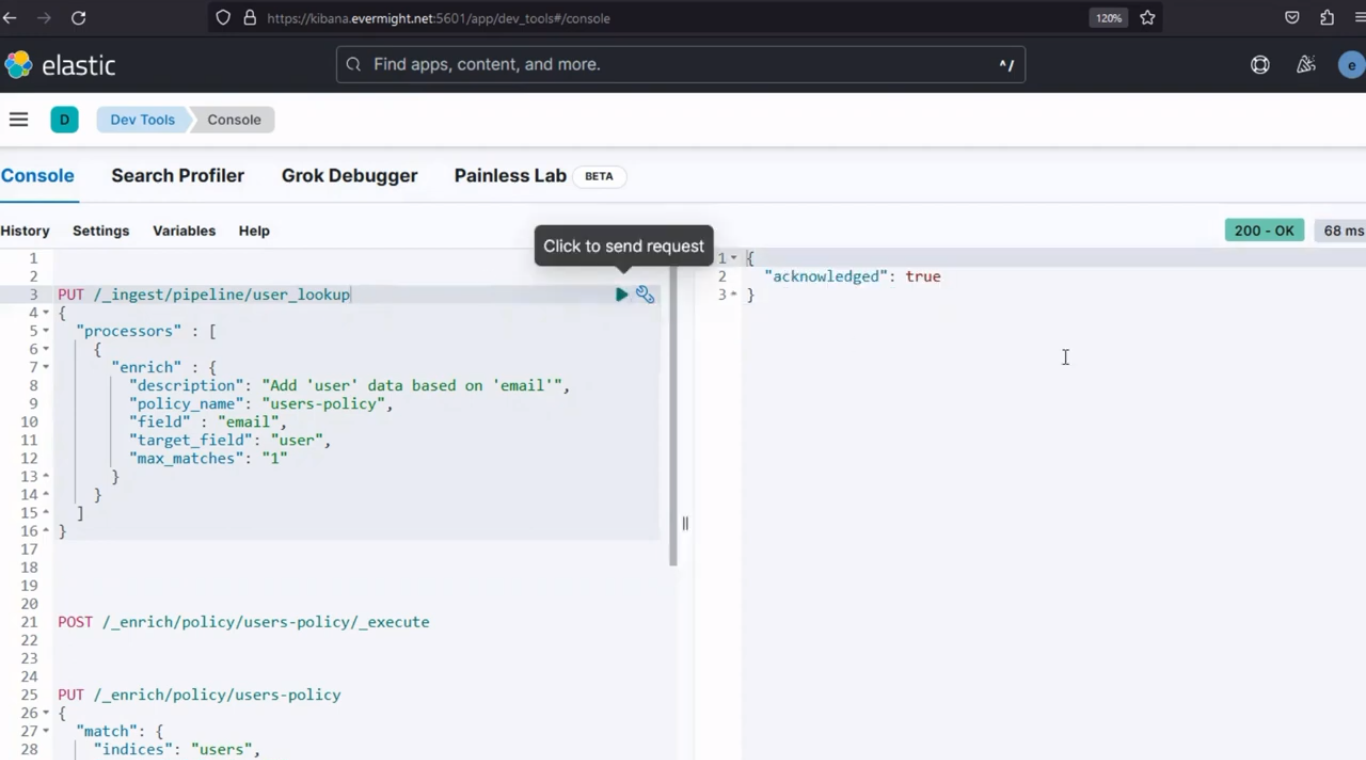 Console result for step 3
To confirm the index for the ingest pipeline was successfully done, go to Stack Management > Ingest Pipelines. And you should see a similar result to the image below:
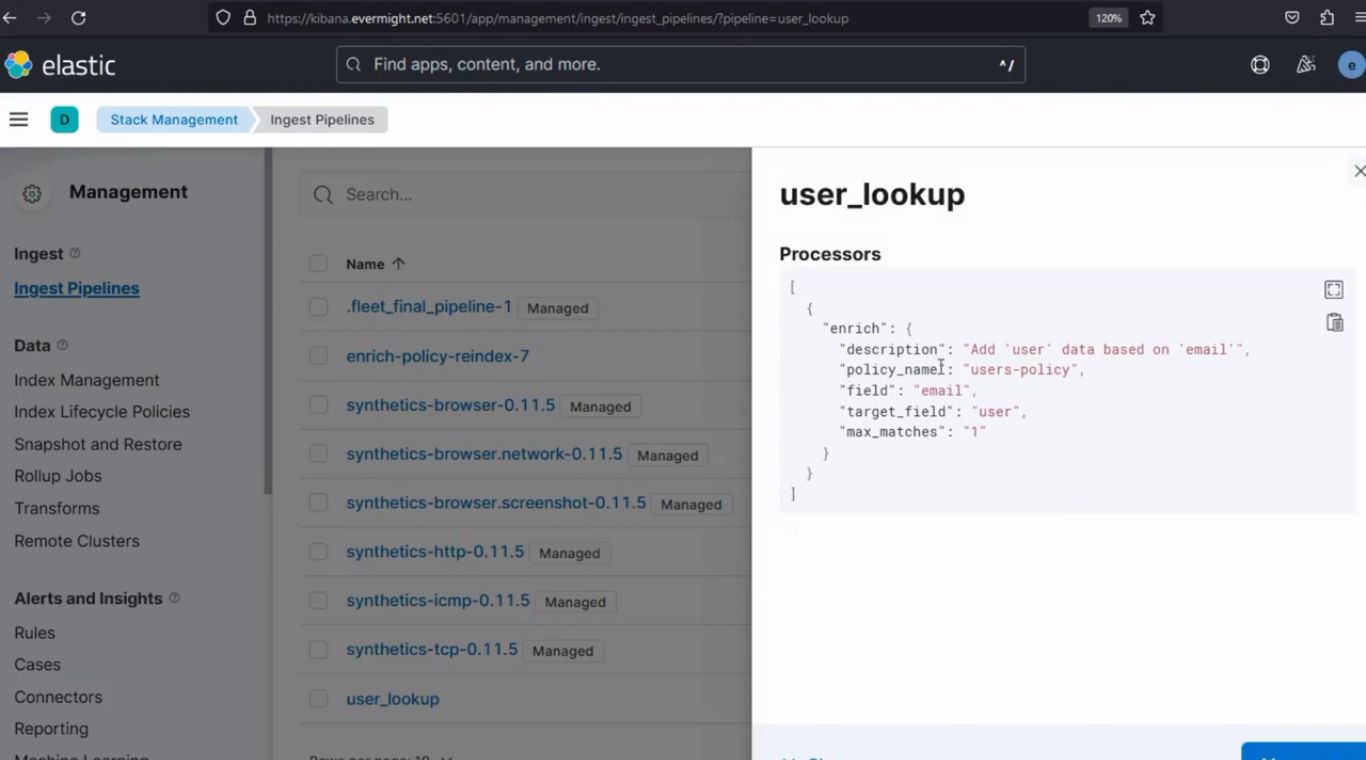 Ingest Pipeline Index succesfully Created
Step - 4 Insert Document Using The Ingestion Pipeline [13:16]
Use the below ingest pipeline to insert a new document. The incoming document should include the field specified in your enrich processor.
PUT /my-index-000001/_doc/my_id?pipeline=user_lookup
{
  "email": "mardy.brown@asciidocsmith.com"
}
After running, It should produce a similar result to the image below;
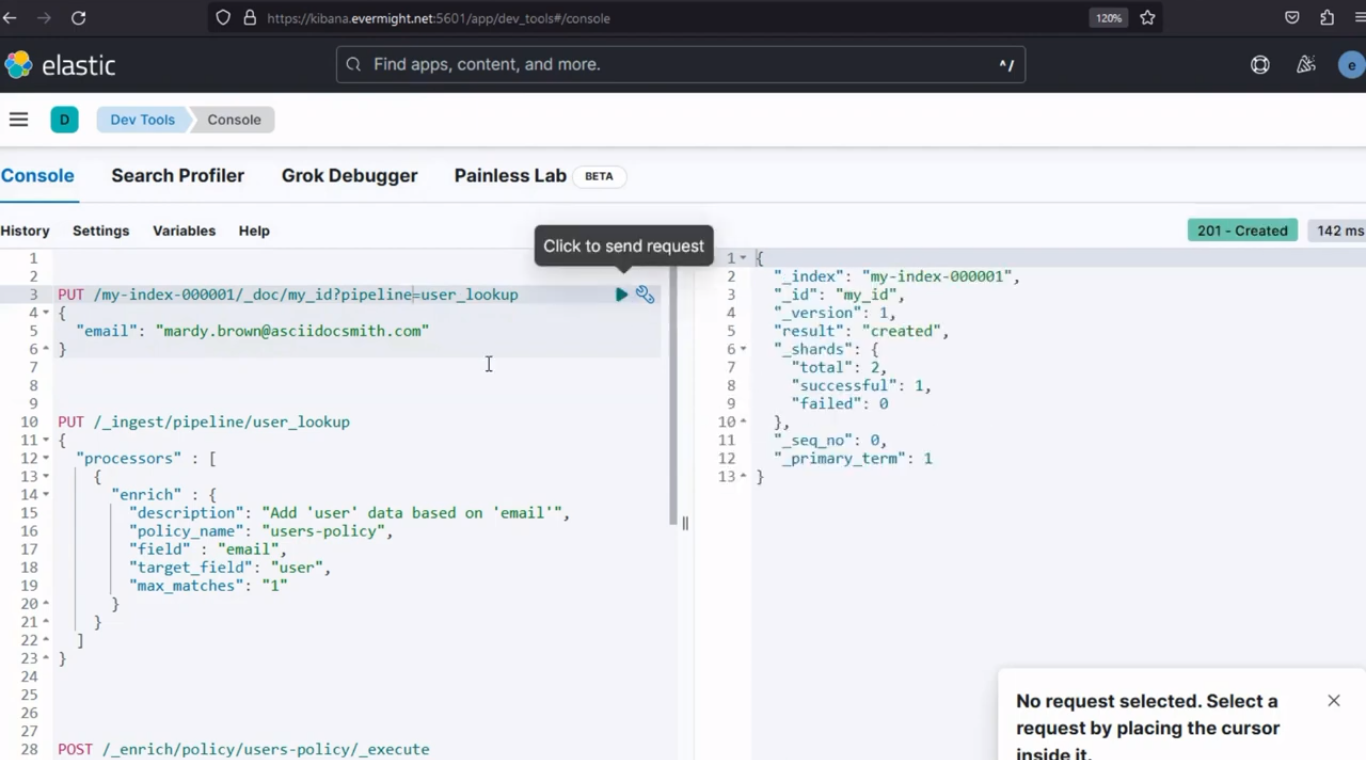 Console result for step 4
And when u perform a GET request, u will see the result:
GET /my-index-000001/_doc/my_id
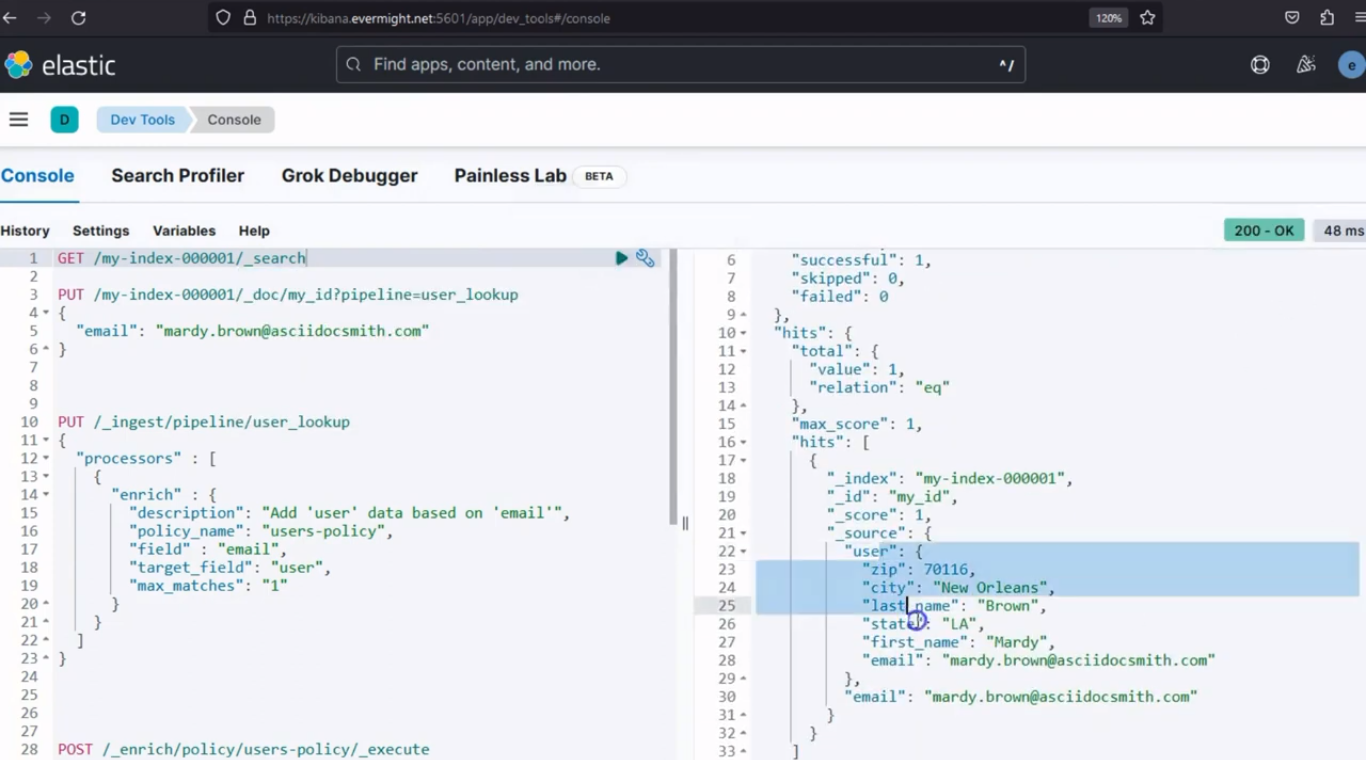 Console result for documents
Let's insert another document into the source index
POST /users/_doc
{
  "email": "test@test.com",
  "first_name": "Test",
  "last_name": "Brown",
  "city": "New Orleans",
  "county": "Orleans",
  "state": "LA",
  "zip": 70116,
  "web": "mardy.asciidocsmith.com"
}
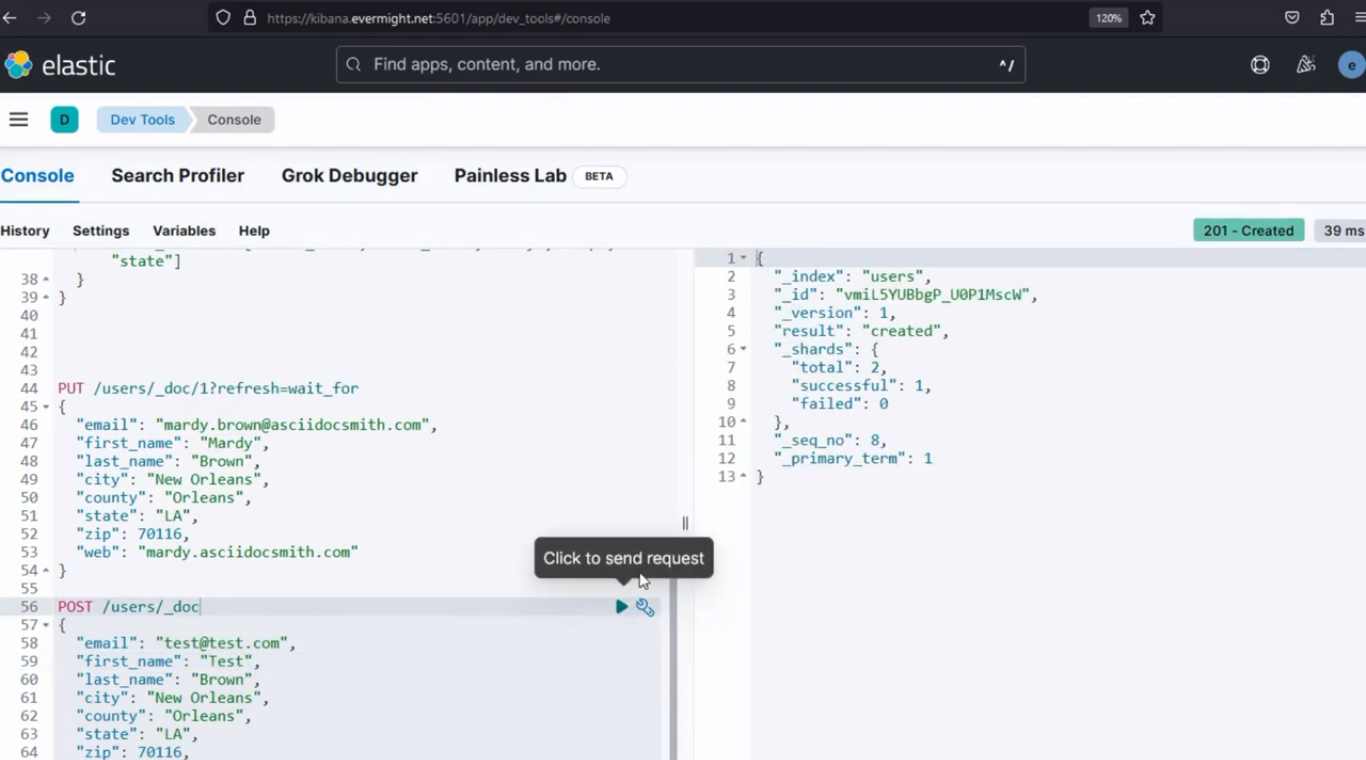 Console result for Inserting New document To Source Index
Then run the below command:
PUT /my-index-000001/_doc/pipeline=user_lookup
{
  "email": "test@test.com"
}
After running, It should produce a similar result to the image below;
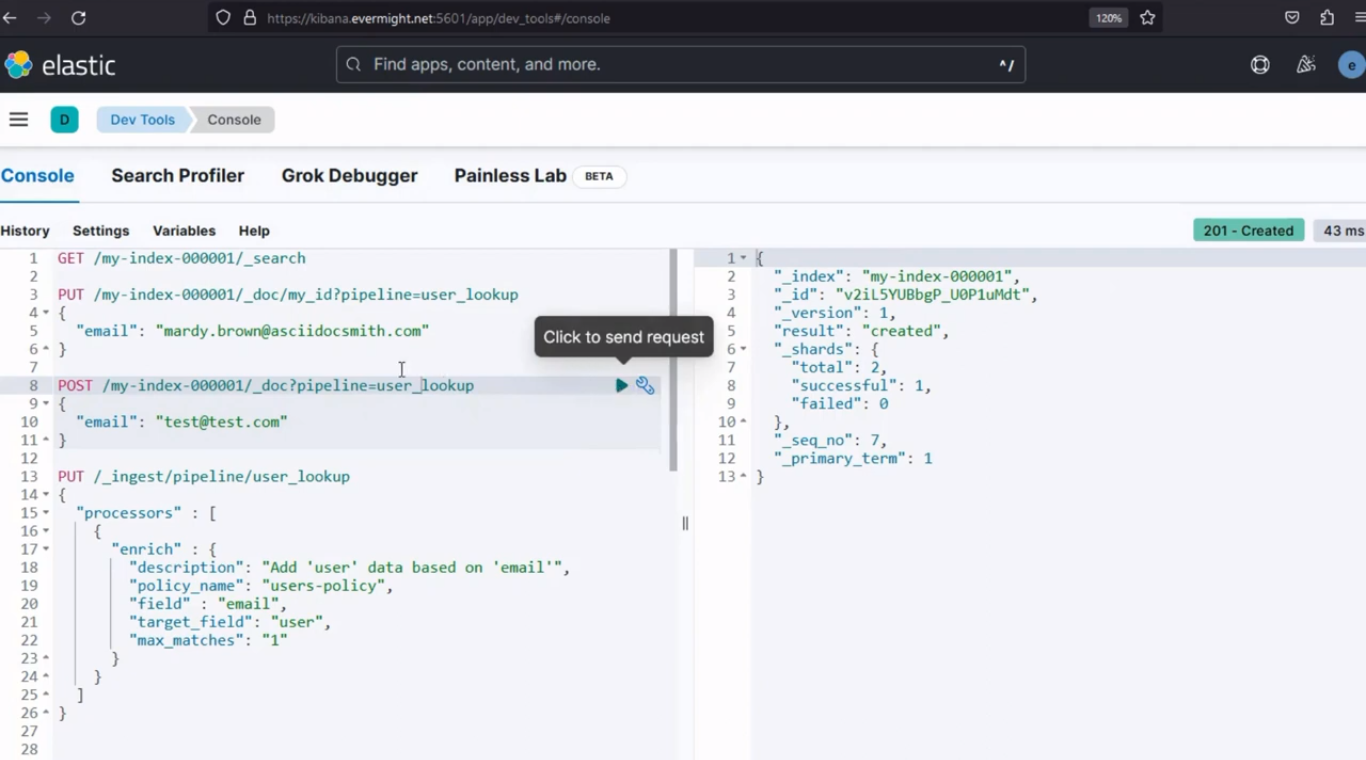 Console result for using POST command to insert a document
How To Enrich Data Based On "Range Value Match" [17:25]
Step - 1 Setup A Source Index [17:33]
In Kibana, go to Dev Tools > Console. Paste the below command in the console:
PUT /networks
{
  "mappings": {
    "properties": {
      "range": { "type": "ip_range" },
      "name": { "type": "keyword" },
      "department": { "type": "keyword" }
    }
  }
}
You should get a similar output as the image below:
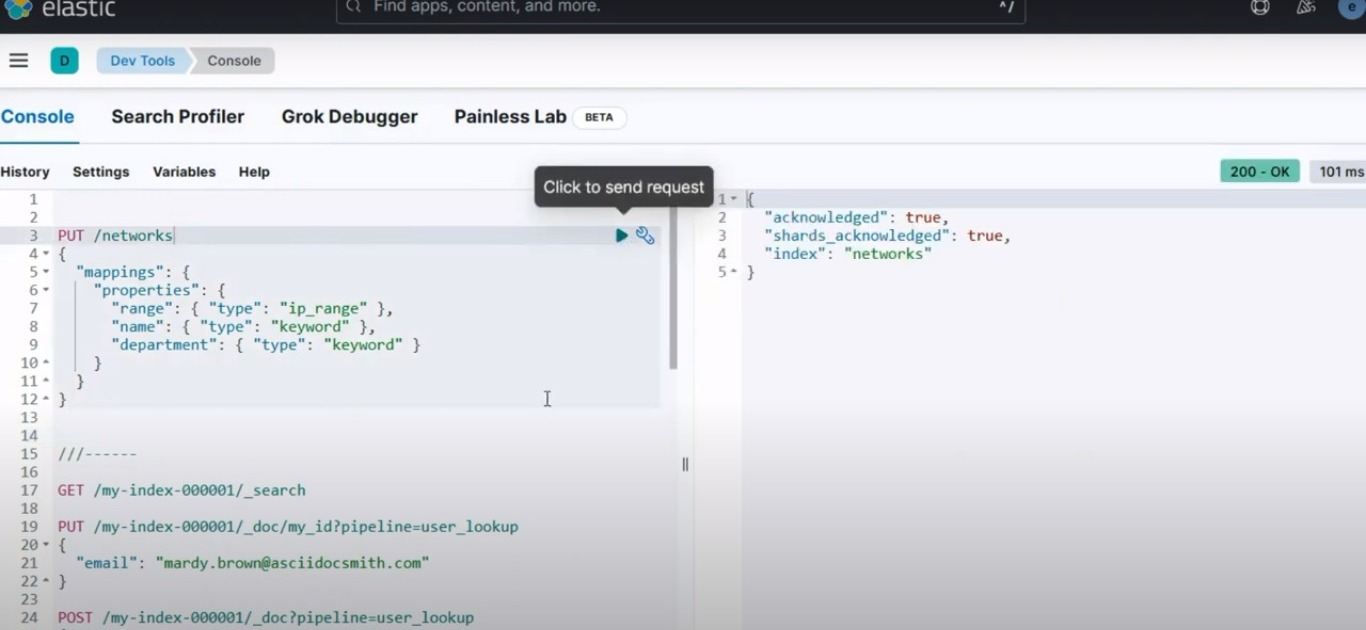 Console result for setting up an index
Step - 2 Insert Document Into The Source Index [20:10]
Run the below command to insert a document into the source index that was created
PUT /networks/_doc/1?refresh=wait_for
{
  "range": "10.100.0.0/16",
  "name": "production",
  "department": "OPS"
}
You should get a result like this:
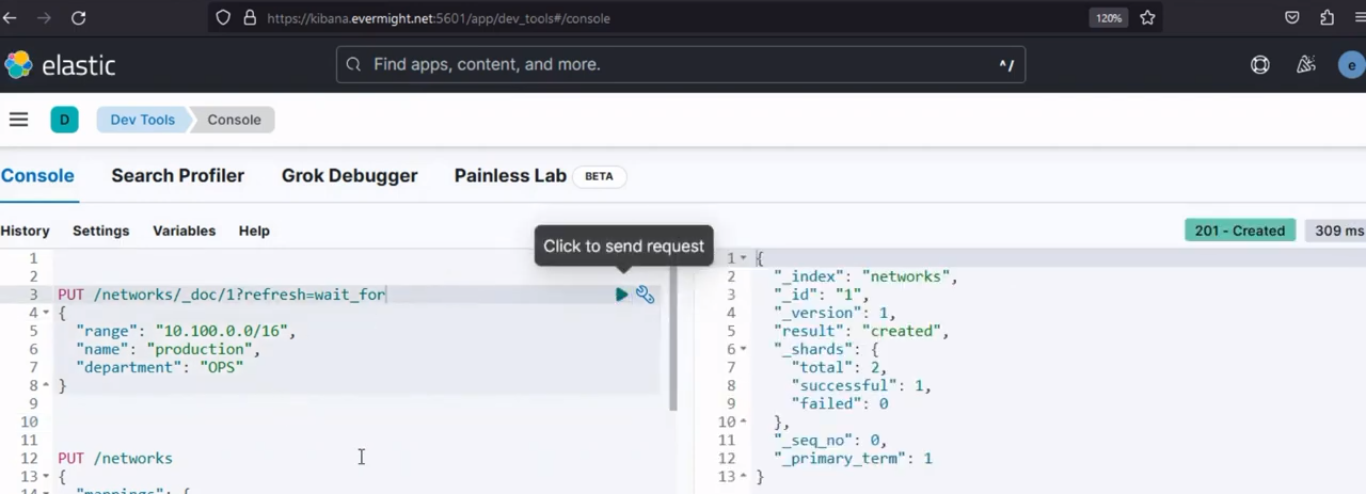 Console result for inserting documents into the source index
Step - 3 Setup An Enrichment Policy [21:20]
Setup the enrichment policy with the below command:
PUT /_enrich/policy/networks-policy
{
  "range": {
    "indices": "networks",
    "match_field": "range",
    "enrich_fields": ["name", "department"]
  }
}
Use the below command to create an enrich index for the policy.
POST /_enrich/policy/networks-policy/_execute?wait_for_completion=false
After running, It should produce a similar result to the image below;
 Console result for step 3
To confirm the index was enriched successfully, go to Stack Management > Index Management, toggle the include hidden indices button On, then reload indices.
Step - 4 Create An Ingestion Pipeline [22:58]
Create an ingest pipeline and add an enrichment processor:
PUT /_ingest/pipeline/networks_lookup
{
  "processors" : [
    {
      "enrich" : {
        "description": "Add 'network' data based on 'ip'",
        "policy_name": "networks-policy",
        "field" : "ip",
        "target_field": "network",
        "max_matches": "10"
      }
    }
  ]
}
Use the below ingest pipeline to insert a new document. The incoming document should include the field specified in your enrich processor.
PUT /my-index-000001/_doc/my_id?pipeline=networks_lookup
{
  "ip": "10.100.34.1"
}
After running, It should produce a similar result to the image below;
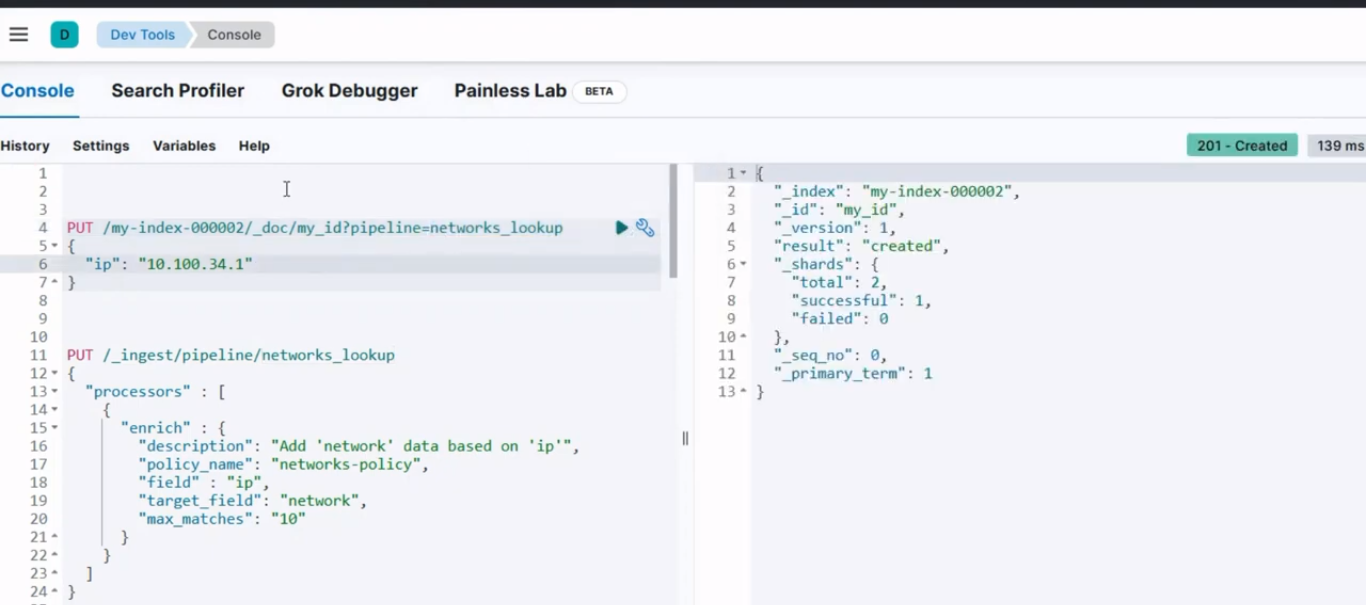 Console result for step 4
And when u perform a GET request, u will see the result:
GET /my-index-000001/_doc/my_id
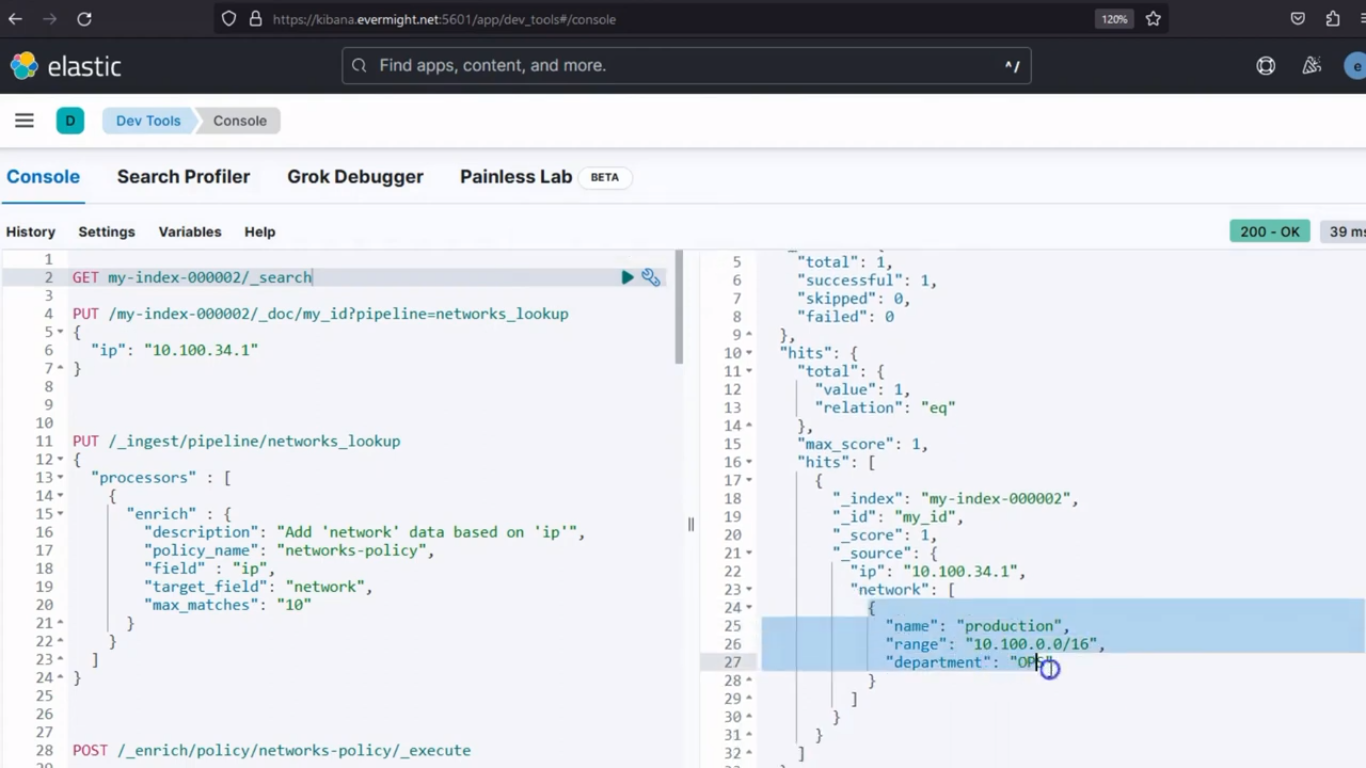 Console result for documents
How To Enrich Data Based On "Geolocation Match" [25:23]
Step - 1 Setup A Source Index [26:10]
In Kibana, go to Dev Tools > Console. Paste the below command in the console:
PUT /postal_codes
{
  "mappings": {
    "properties": {
      "location": {
        "type": "geo_shape"
      },
      "postal_code": {
        "type": "keyword"
      }
    }
  }
}
You should get a similar output as the image below:
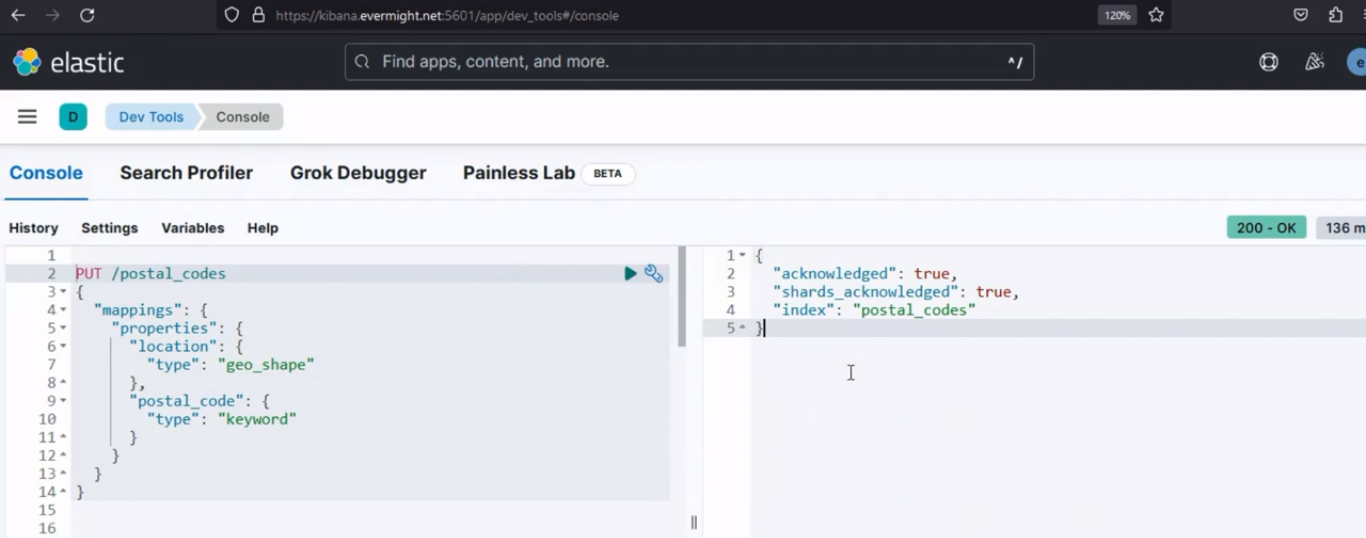 Console result for setting up an index
Step - 2 Insert Document Into The Source Index [27:00]
Index enriched data into the source index, by using the below command:
PUT /postal_codes/_doc/1?refresh=wait_for
{
  "location": {
    "type": "envelope",
    "coordinates": [[13.0, 53.0], [14.0, 52.0]]
  },
  "postal_code": "96598"
}
You should get a result like this:
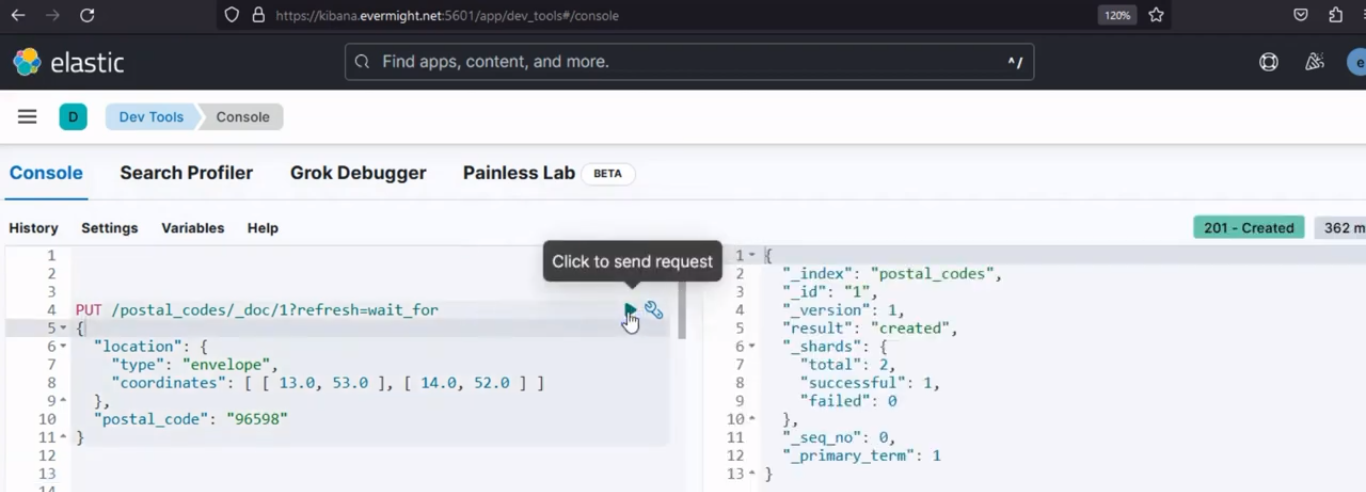 Console result for inserting documents into the source index
Step - 3 Setup An Enrichment Policy [27:38]
Setup the enrichment policy with the below command:
PUT /_enrich/policy/postal_policy
{
  "geo_match": {
    "indices": "postal_codes",
    "match_field": "location",
    "enrich_fields": [ "location", "postal_code" ]
  }
}
Use the below command to create an enrich index for the policy.
POST /_enrich/policy/postal_policy/_execute?wait_for_completion=false
After running, It should produce a similar result to the image below;
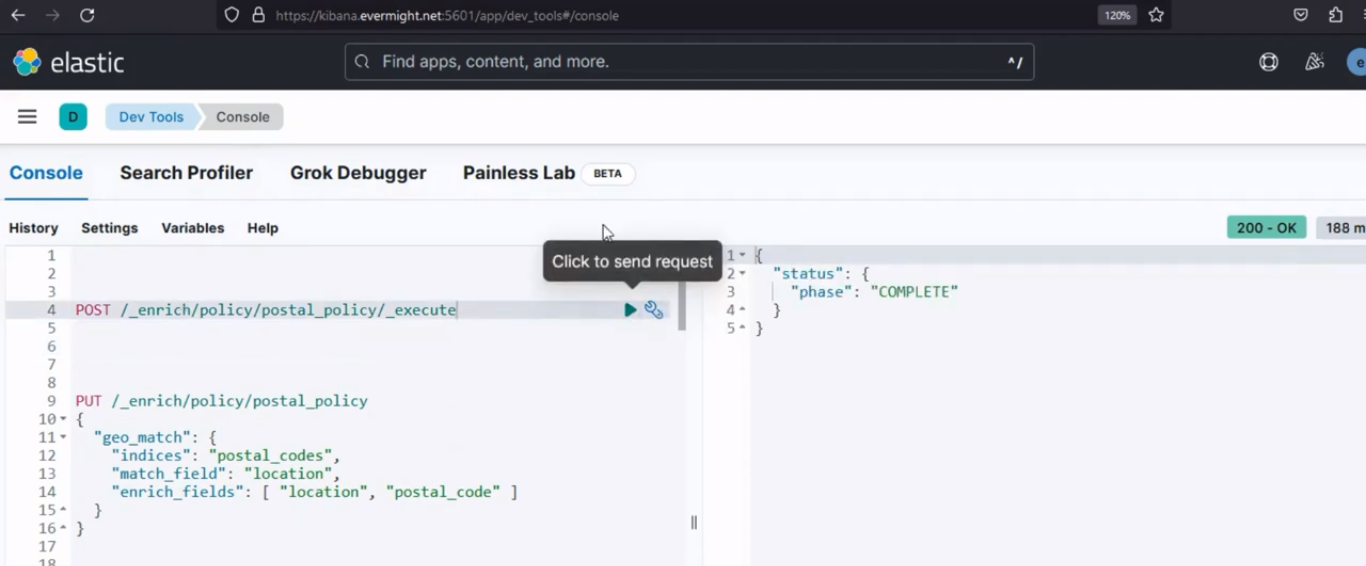 Console result for step 3
To confirm the index was enriched successfully, go to Stack Management > Index Management, toggle the include hidden indices button On, then reload indices.
Step - 4 Create An Ingestion Pipeline [28:51]
Create an ingest pipeline and add an enrichment processor:
PUT /_ingest/pipeline/postal_lookup
{
  "processors": [
    {
      "enrich": {
        "description": "Add 'geo_data' based on 'geo_location'",
        "policy_name": "postal_policy",
        "field": "geo_location",
        "target_field": "geo_data",
        "shape_relation": "INTERSECTS"
      }
    }
  ]
}
Use the below ingest pipeline to insert a new document. The incoming document should include the field specified in your enrich processor.
PUT /users2/_doc/0?pipeline=postal_lookup
{
  "first_name": "Mardy",
  "last_name": "Brown",
  "geo_location": "POINT (13.5 52.5)"
}
After running, It should produce a similar result to the image below;
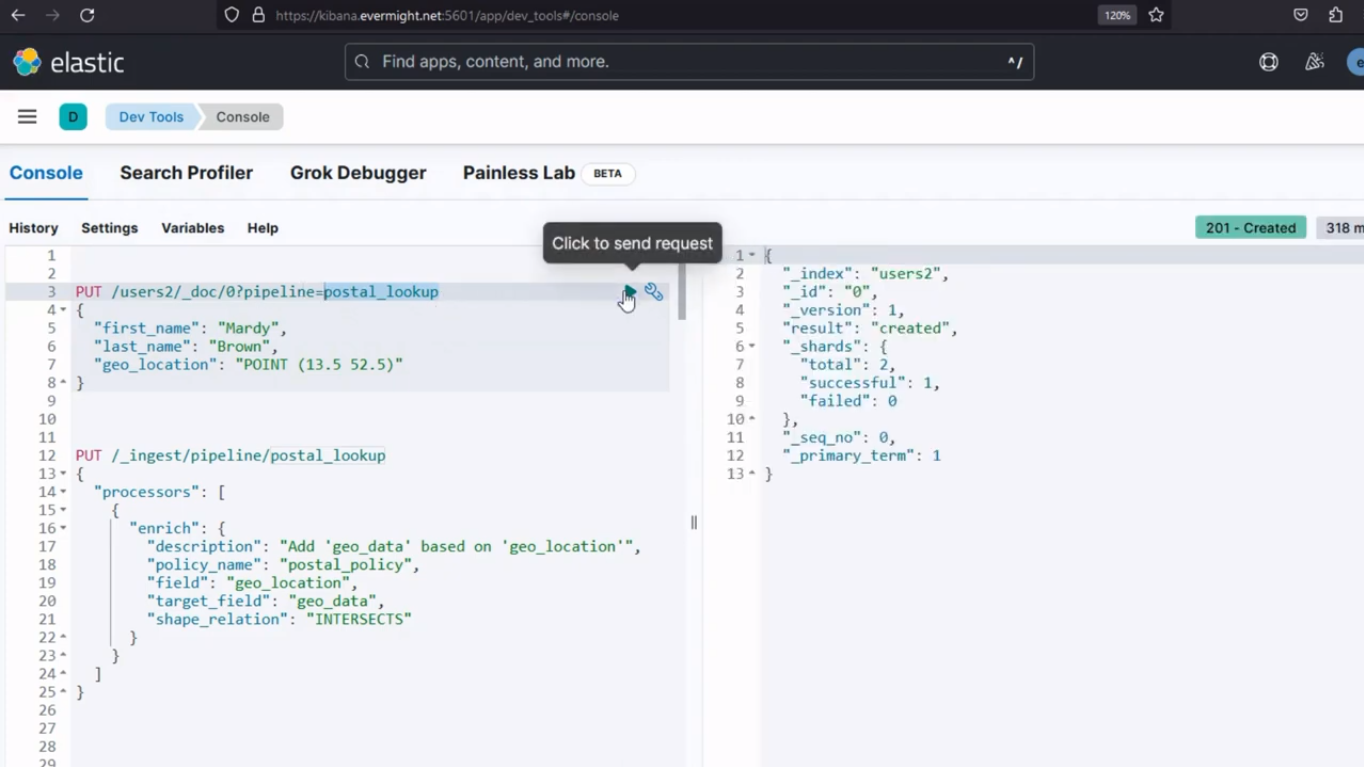 Console result for step 4
And when u perform a GET request, u will see the result:
GET /users2/_search
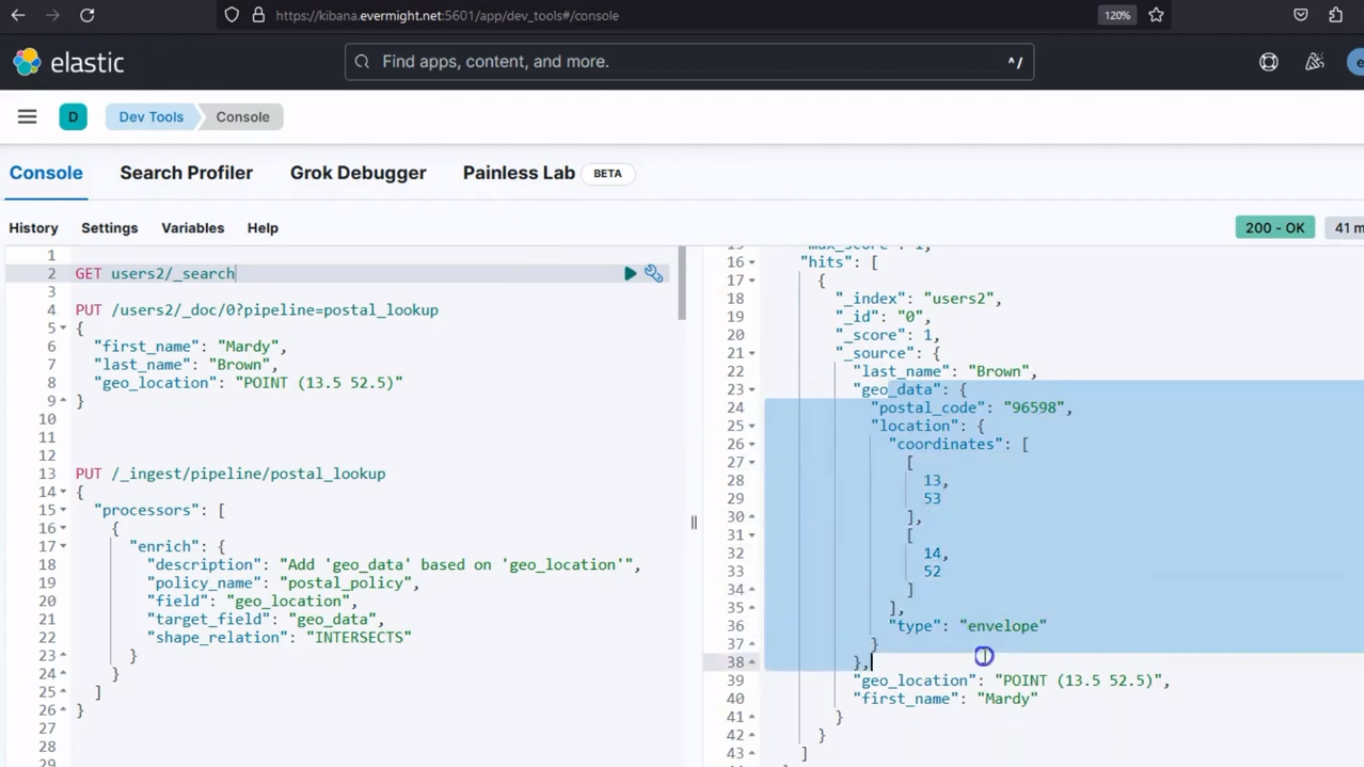 Console result for documents
